Processing DSLR-digitized film with and without Pentax K-1 Monochrome Custom Image profile
Digital Camera Utility 5.0 is a pain to use on a Mac with Monterey. It is slow and laggy. Its only use is to get the photo as shot, with the custom image profiles embedded in a K-1 (and other recent Pentax DSLRs), and export it as a 16-bit tiff for further processing.
One might wonder, however, whether editing a RAW file without going through the DCU —and thus losing the custom image profile— would produce lower quality results. We are about to find out.
The test is quite demanding, as it starts with a shot from an Ilford SP2 Super 400 (note: this is not a true B&W film, as it belongs to the ‘fake’ B&W category. This means that it is developed using the C-41 process), digitised with a Pentax K-1 and a Pentax smc FA 100 2.8 Macro.
The only adjustments made to the image are the inversion of the RGB curves to make them positive, the correction of the levels (25 for the whites, 127 for the blacks – remember that once the curve is inverted, the levels also work vice versa. Left values make the image brighter, right values make it darker) and noise reduction (multi-level noise reduction at 100 and reduction of colour noise.)
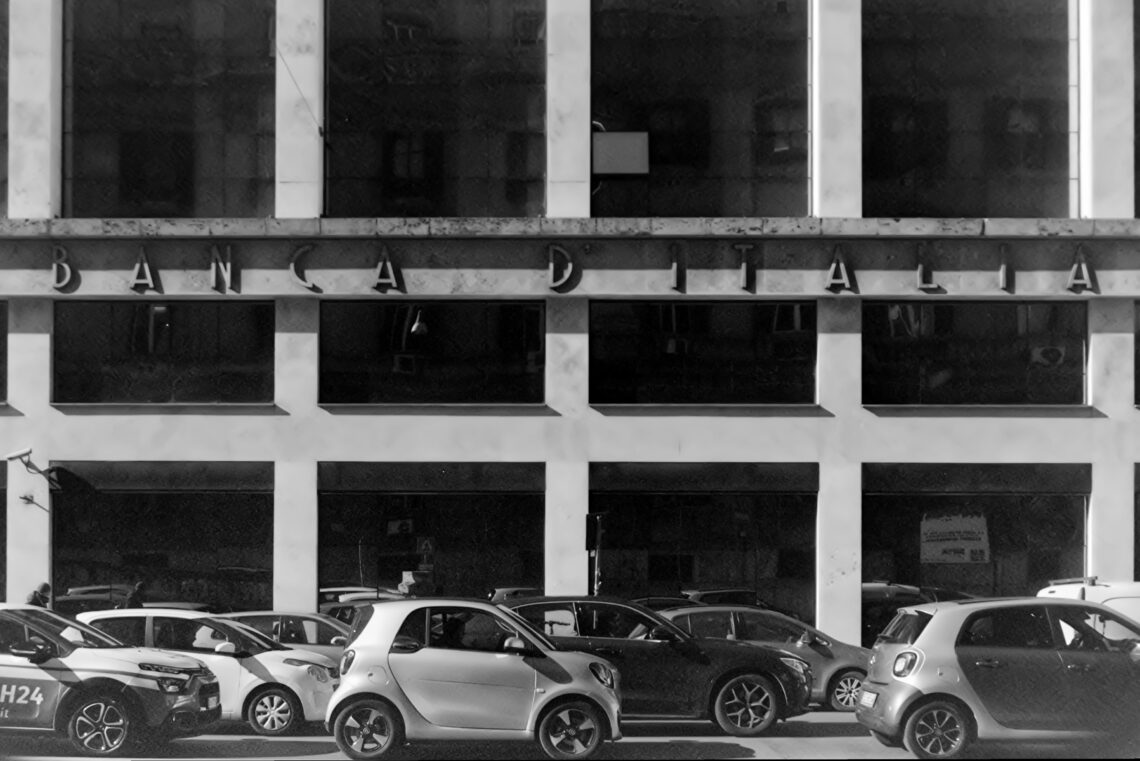
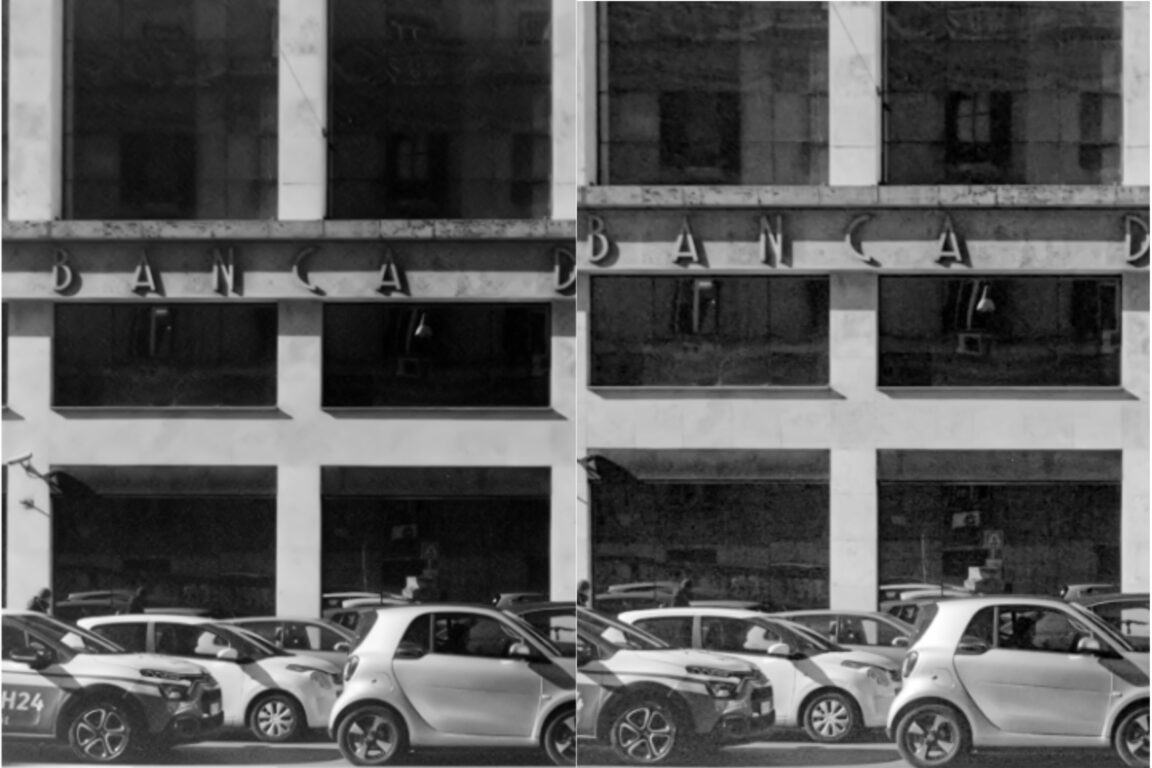
This is a crop before applying DCU Noise Reduction
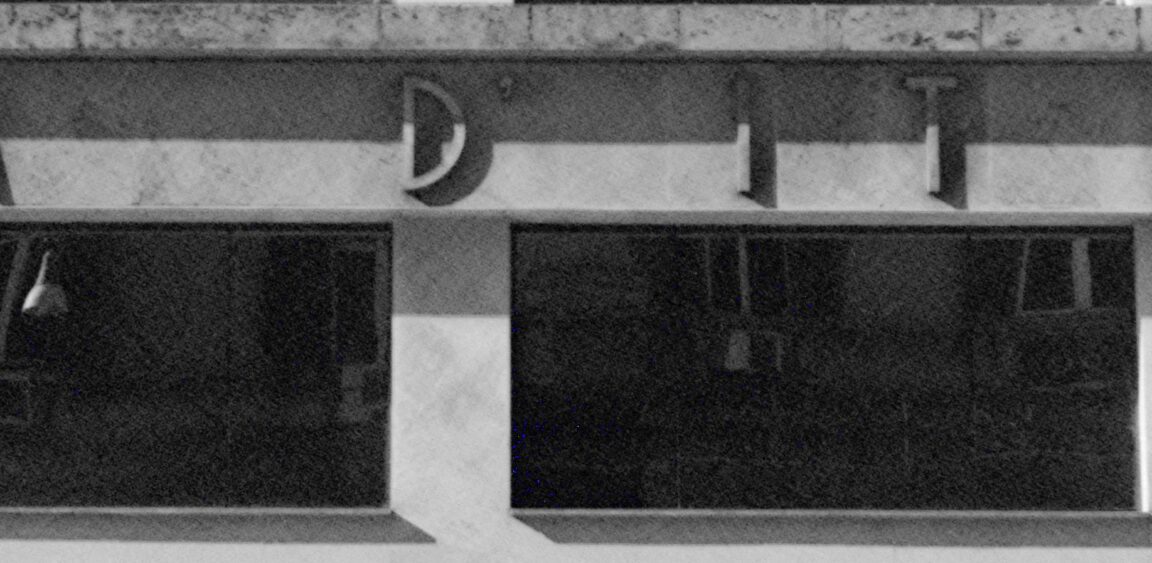
And this is the ‘after’

Other adjustments are possible, but DCU’s incredibly poor performance makes it not worth wasting the time (and patience) required.
Once exported in 16-bit Tiff format, the image is loaded into Affinity Photo 2 and first processed in Develop Persona (AP2 also allows you to process a rasterised image with its RAW module).
First, a ‘second pass’ of noise reduction is necessary. This is done in the Details tab. In this particular case, the values are Luminance 100%, Luminance Details 0%, Luminance Contribution 100%. It is necessary to run this task first, so that the noise does not affect further processing.
In the Exposure tab, the Exposure value is 1.78%, Black Point is 1% and Brightness is 25%.
In the Enhance tab, the contrast is -2%, the brightness is 52%, the saturation is 0% and the vibrancy is 0%. No changes are necessary in the White Balance tab.
In the Shadows & Highlights tab, set Shadows to -100% and leave Highlights at 0%.
Back to the Photo Persona, it worth trying a ‘lucky shot’ by setting auto-contrast and auto-levels (in this order.)
This is the final result.

Now, let’s process the very same RAW file straight with AP2.
Also in this case, noise reduction comes first. The values are the same used in the other process: Luminance 100%, Luminance Details 0%, Luminance Contribution 100%.
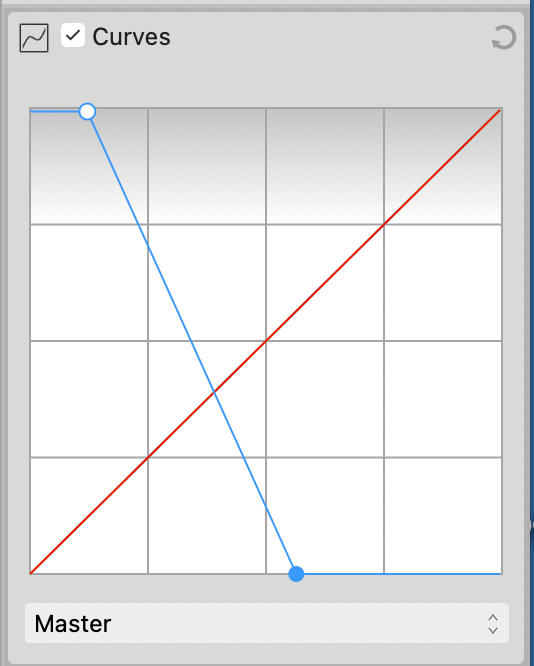
Next, switch to the Tones tab, thick the ‘Black and White’ checkbox, invert the ‘Master’ curve. Set the down-right handle almost in the middle of the X-axis (about48%), and the upper-left handle about in the middle of the first square (about 12,5%). As AP2 does not allow to input a number, the only option is guessing. However, here is a reference image.
In the Basic tab, Exposure value is -0,33, Blackpoint is -10%, Brightness is -5%, Contrast is 13%, Clarity is 39%, Saturation is -100%, Vibrance is left to 0%, Shadows is 45%, Highlights is 100%.
In Photo Persona, the same ‘lucky shot’ previously mentioned hits the mark.
This is the final result.
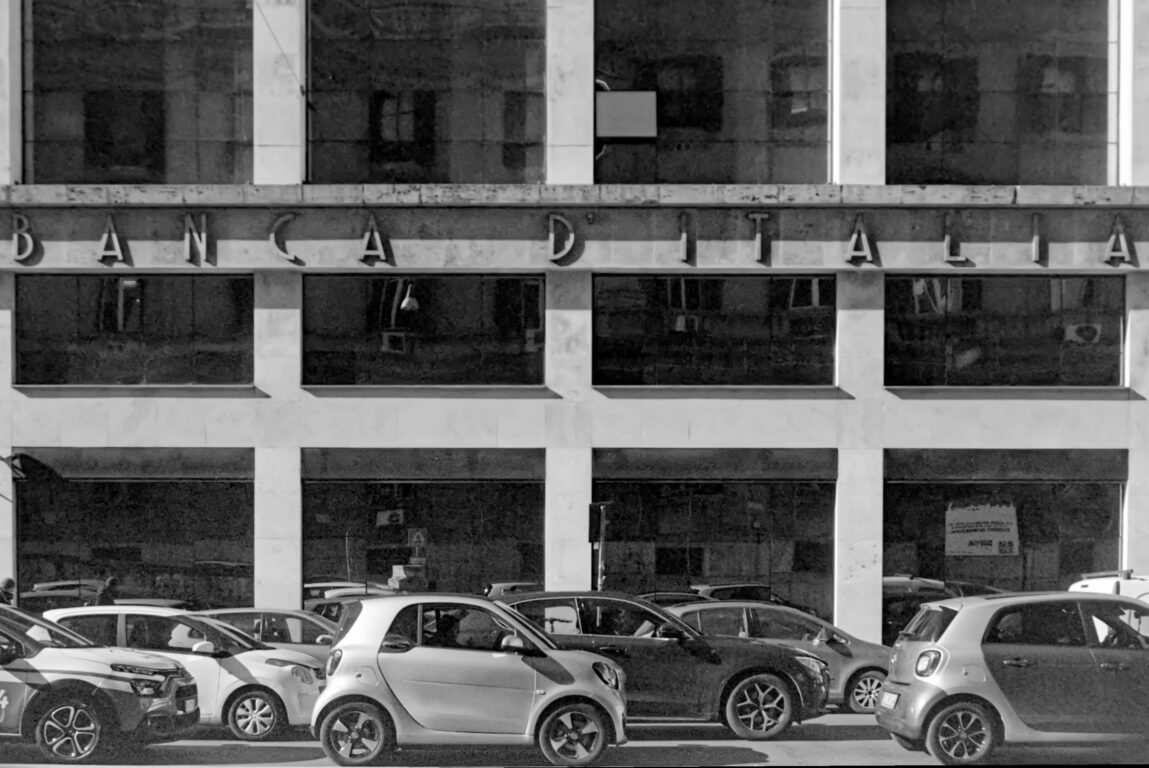
Even if the overall results is not satisfactory in both cases -further tweaking might be necessary- when comparing the results DCU-edited file looks better than the one edited straight with AP2.
DCU latest version is labeled as an update but it is actually a full-version. Installing it on a Mac requires to copy the downloaded file on a USB stick, rename the USB stick as ‘S-SW140’ —no need to format the stick— and launch the installer from there. It looks like the software need to ‘believe’ that it is run from a disk to install. This advice was initially given for DCU Windows version, however, it worked also non OSX Monterey.


