5 (improbable) Frames with a roll of Ferrania Orto and a Nikon 35TI
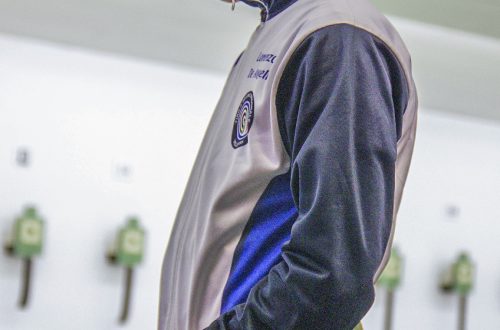
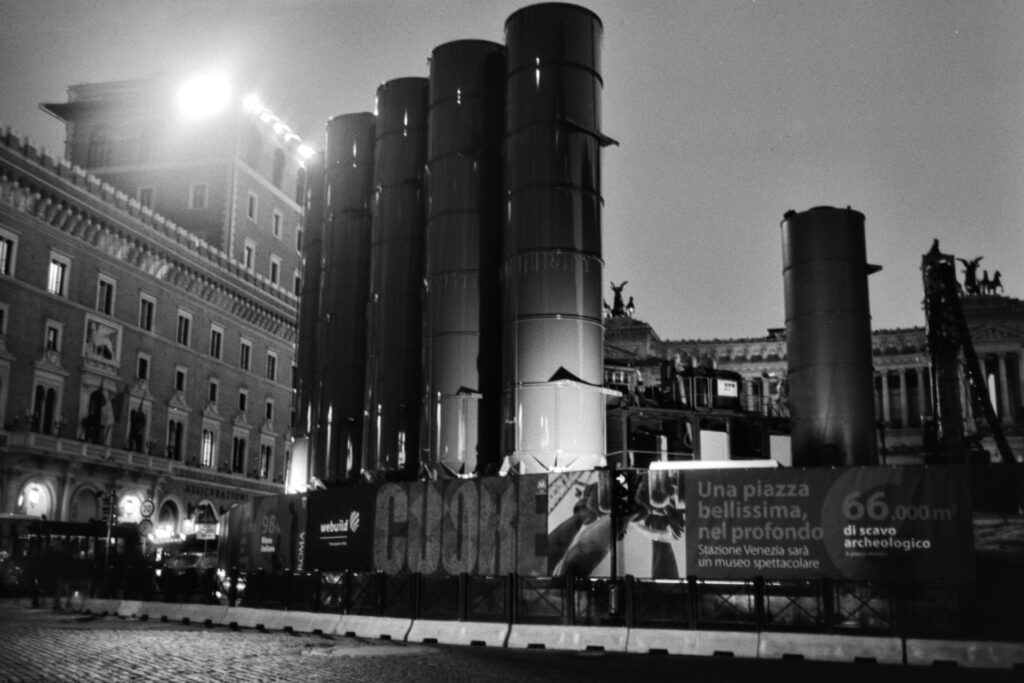
The photographer is a peculiar type of social being, characterised by a ‘rules are meant to be broken’ attitude in the search for the perfect exposure. So, sooner or later, all the dogmas about composition, hyperfocal, zone system, rule of thirds, etc. will be put aside to try something ‘different’. This is what happened with these five images, taken at night in Piazza Venezia and Via Salaria in Rome with a Ferrania Orto on a Nikon 35TI; a rather strange choice given the inherent limitations of an orthocromatic film and a 2,8 35mm lens of a compact camera in this scenario.
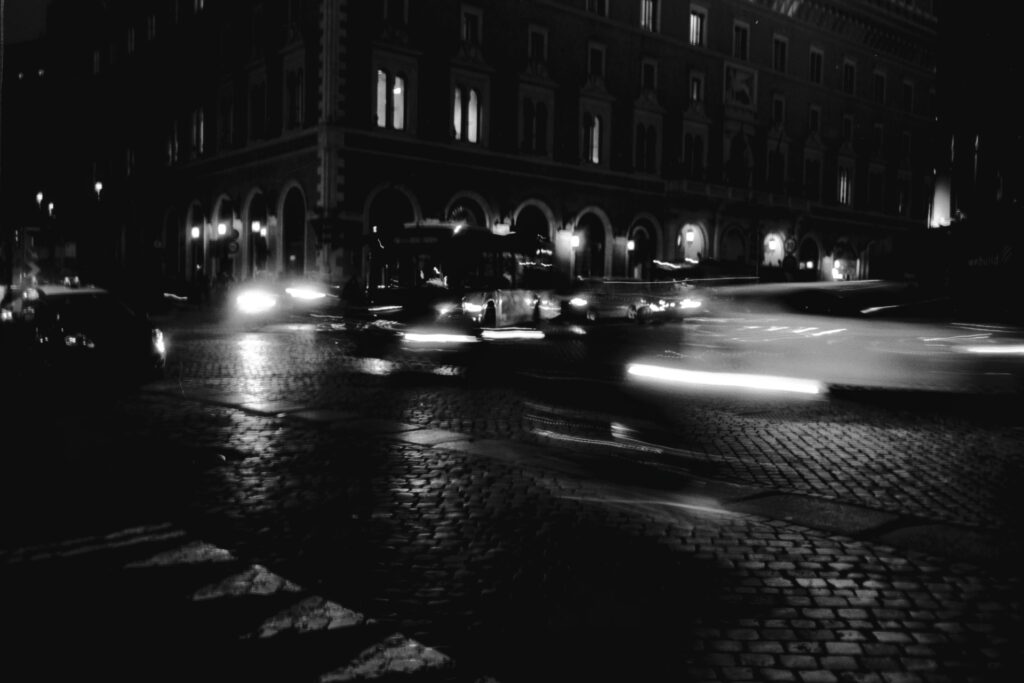
Against all odds the 35TI performed well (especially in terms of autofocus), so I managed to get some decent shots by compensating for the longer exposure times required by the lack of light by using any available objects as an improvised tripod. For example, this picture was taken using a car roof as a stable support.
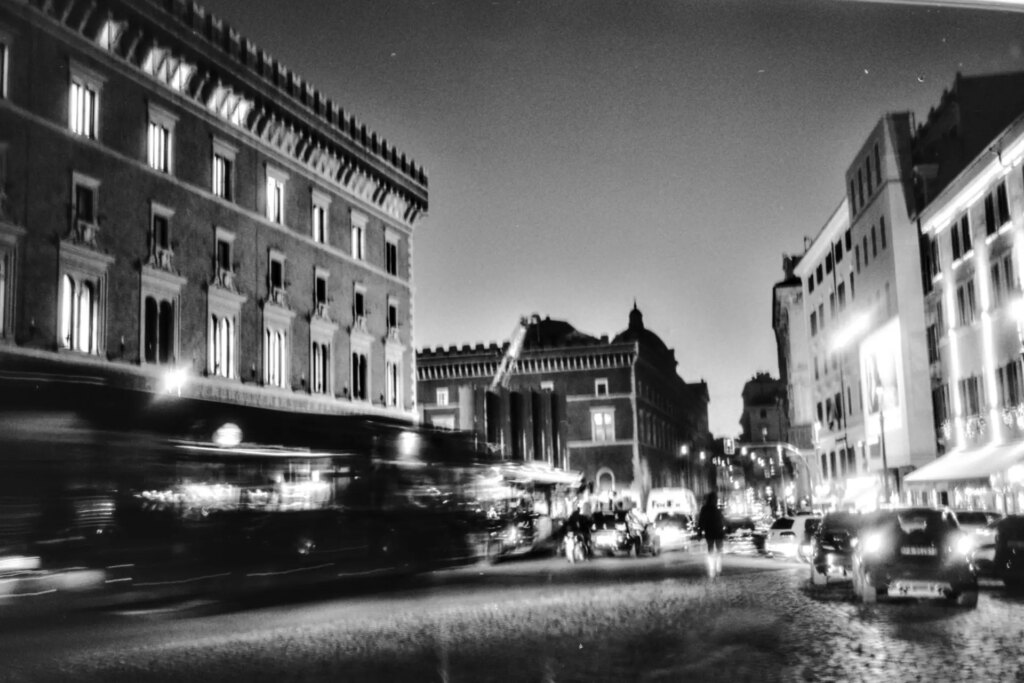
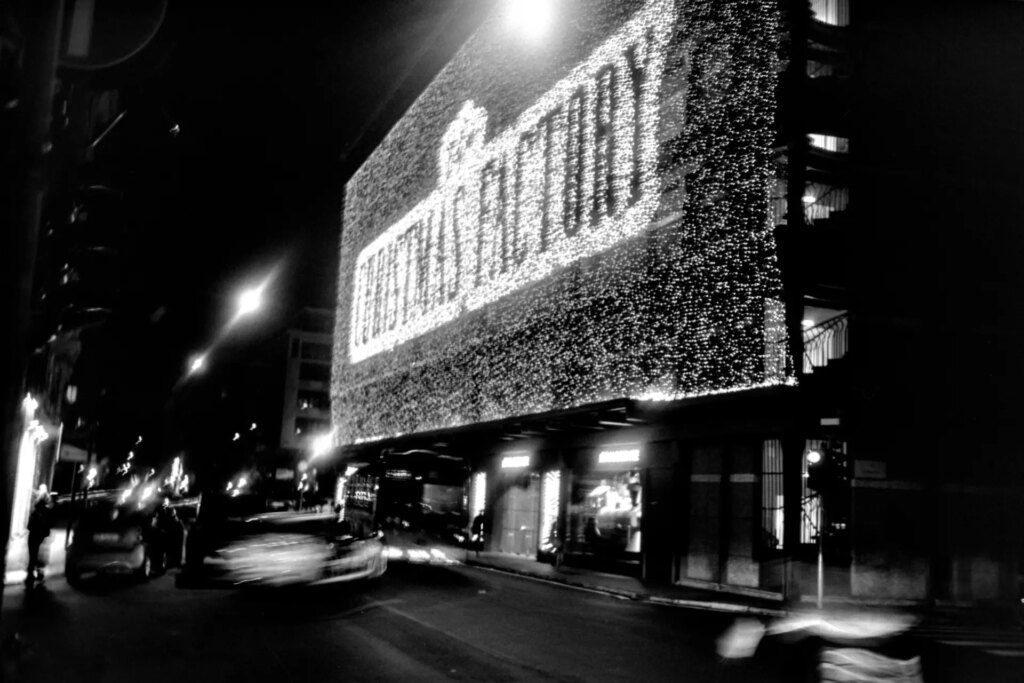
To take this one, I leaned against a lamp and positioned the camera on my left arm, bent in a sniper’s position, with my left hand touching my right shoulder.
The next was shot handeld. I waited for some traffic light to give me a short enough exposure time.
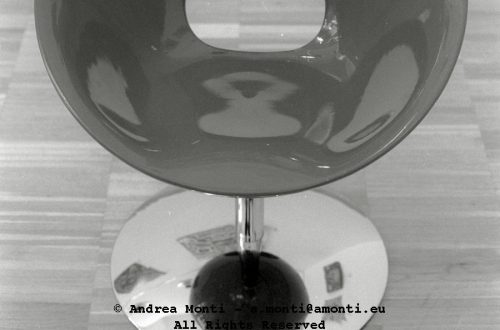
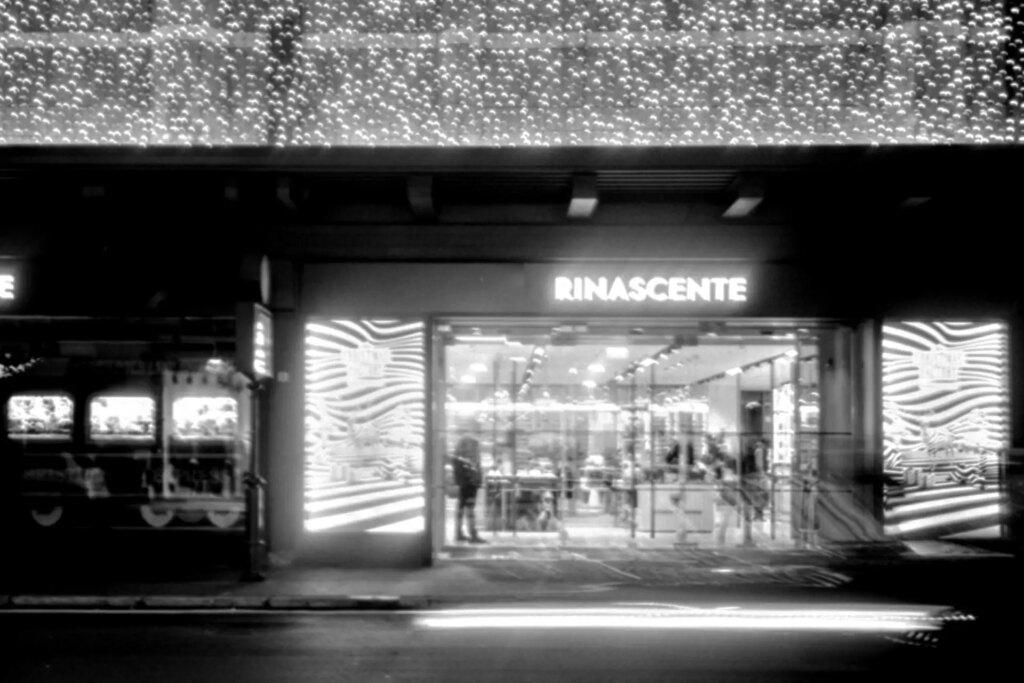
The last two pictures were taken in Via Salaria’ Rinascente (a historic Italian shopping centre founded in Milan at the beginning of 1900, whose Rome branch – the one pictured here – was built in 1960).
Taking this photo was a challenge. I had to time how the LED lights came on and how long they stayed on.Actually, though, I was not sure I could get a decent image.
This one was shot by hand. There was enough light in the centre of the picture to give a short enough exposure time. But there was a price to pay: the harsh contrast between the light and dark parts of the frame made it impossible to reveal the details of the peripheral areas of the image.
Despite the challenging conditions of the shots, the most difficult part was digitising them.
After a few attempts with a Nikon LS-4000, I finally decided to go for a DSLR-based rig. The decision was made because, despite all the settings tweaks, I could not get rid of an impossible amount of grain. So, I used a Pentax K-1 and a Pentax smc FA 100/2.8 macro, coupled with an inexpensive JJC rig that works quite well with this camera setup, although it is not listed as ‘compatible’.
Post-production wise, I tried Pixelmator pro and Affinity photo using the traditional curve inversion-based method. I also tried Rawtherapee’s negadoctor and, having purchased also Negative Lab Pro, I also thought about giving it a try, but I finally decided no to because I have chosen a no Adobe software path. I still need to understand which software works best because – at least at my skill level – none of them give me consistent results. The peculiarity of an orthocromatic film in terms of black levels does not allow for much leeway in the handling of tones; this leads to harsh contrasts that rob the image of its grey tones, but this is precisely why I use this type of film. However, The inconsistency of the blacks is not satisfactory. Just yet, I have not understood what I am missing in the post-production process.